1. Creating a live event on Vimeo
<attention> You can only live stream up to 3 videos at the same time from Vimeo, so please be aware of this if you are intending to stream multiple sessions simultaneously. If this limit is exceeded, it's possible that your videos will not stream properly. See more information on this here. </attention>
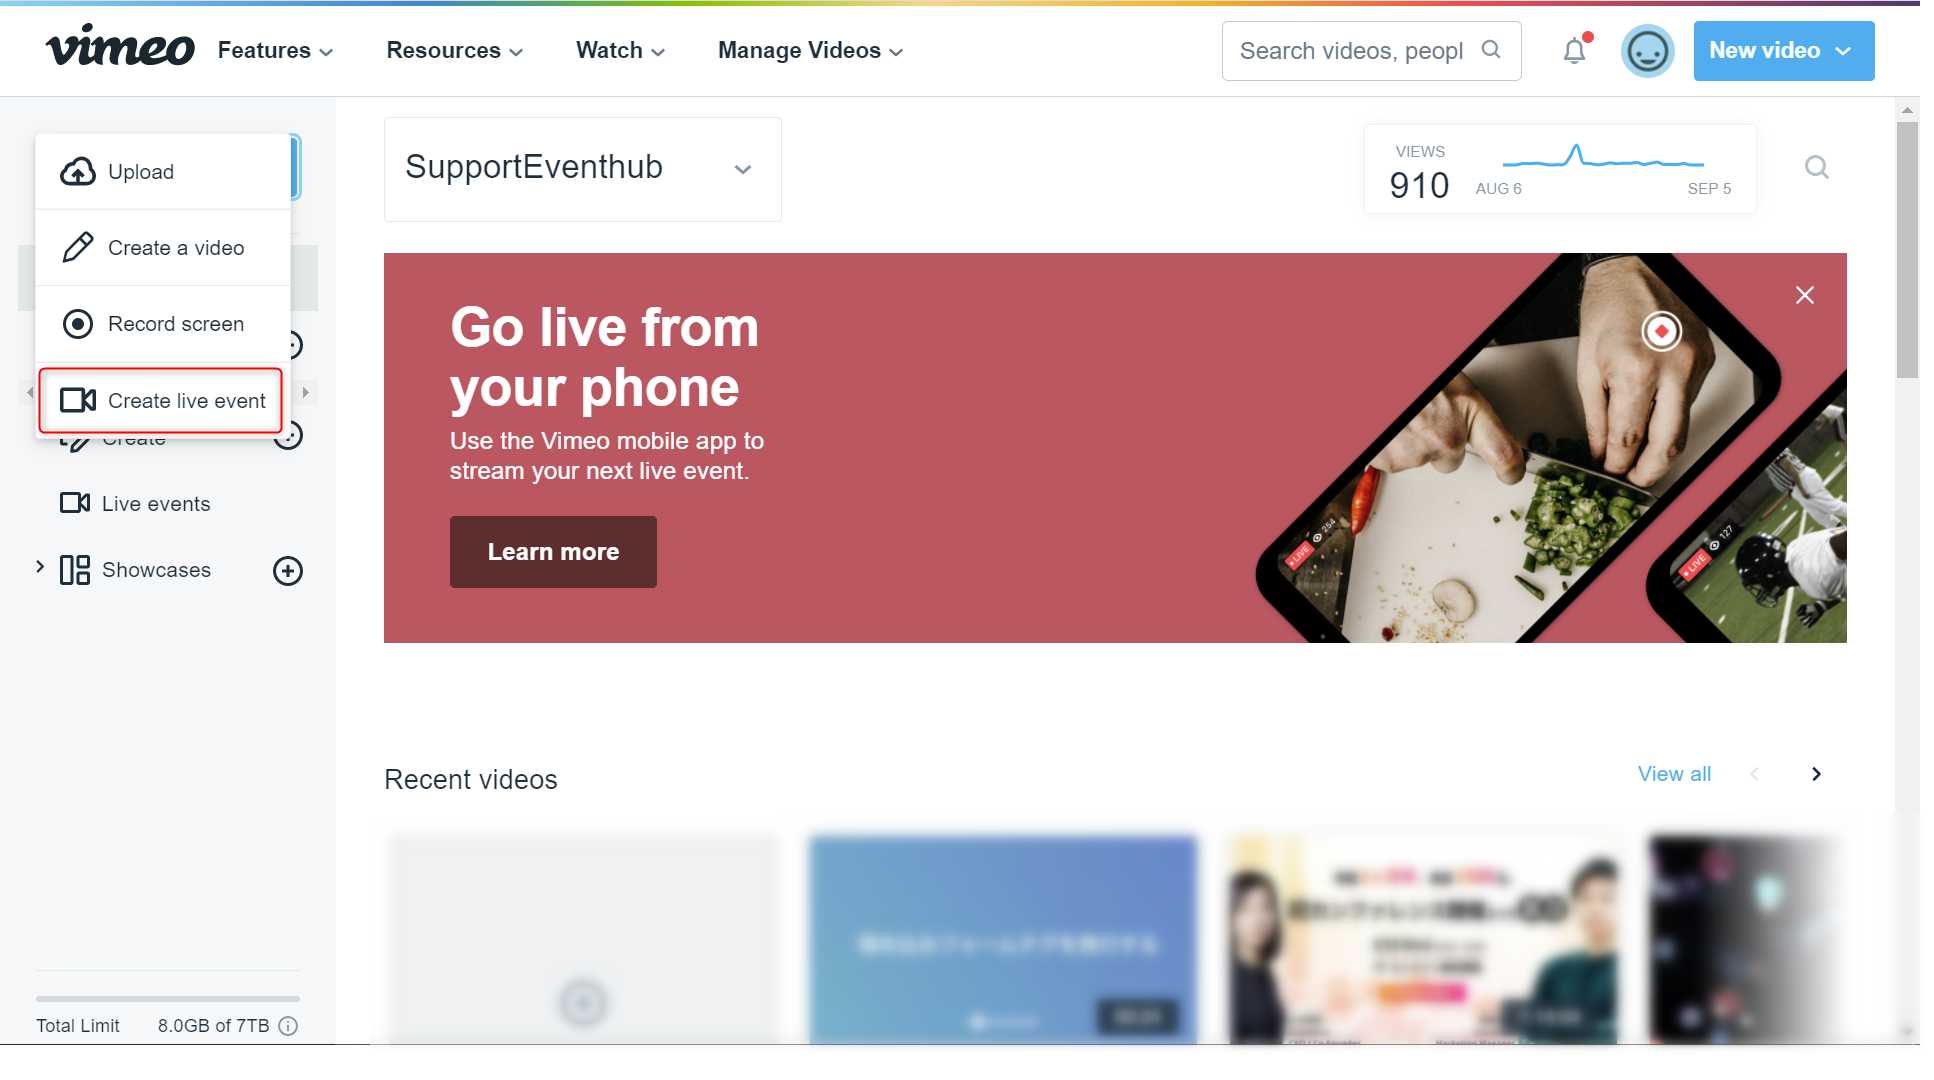
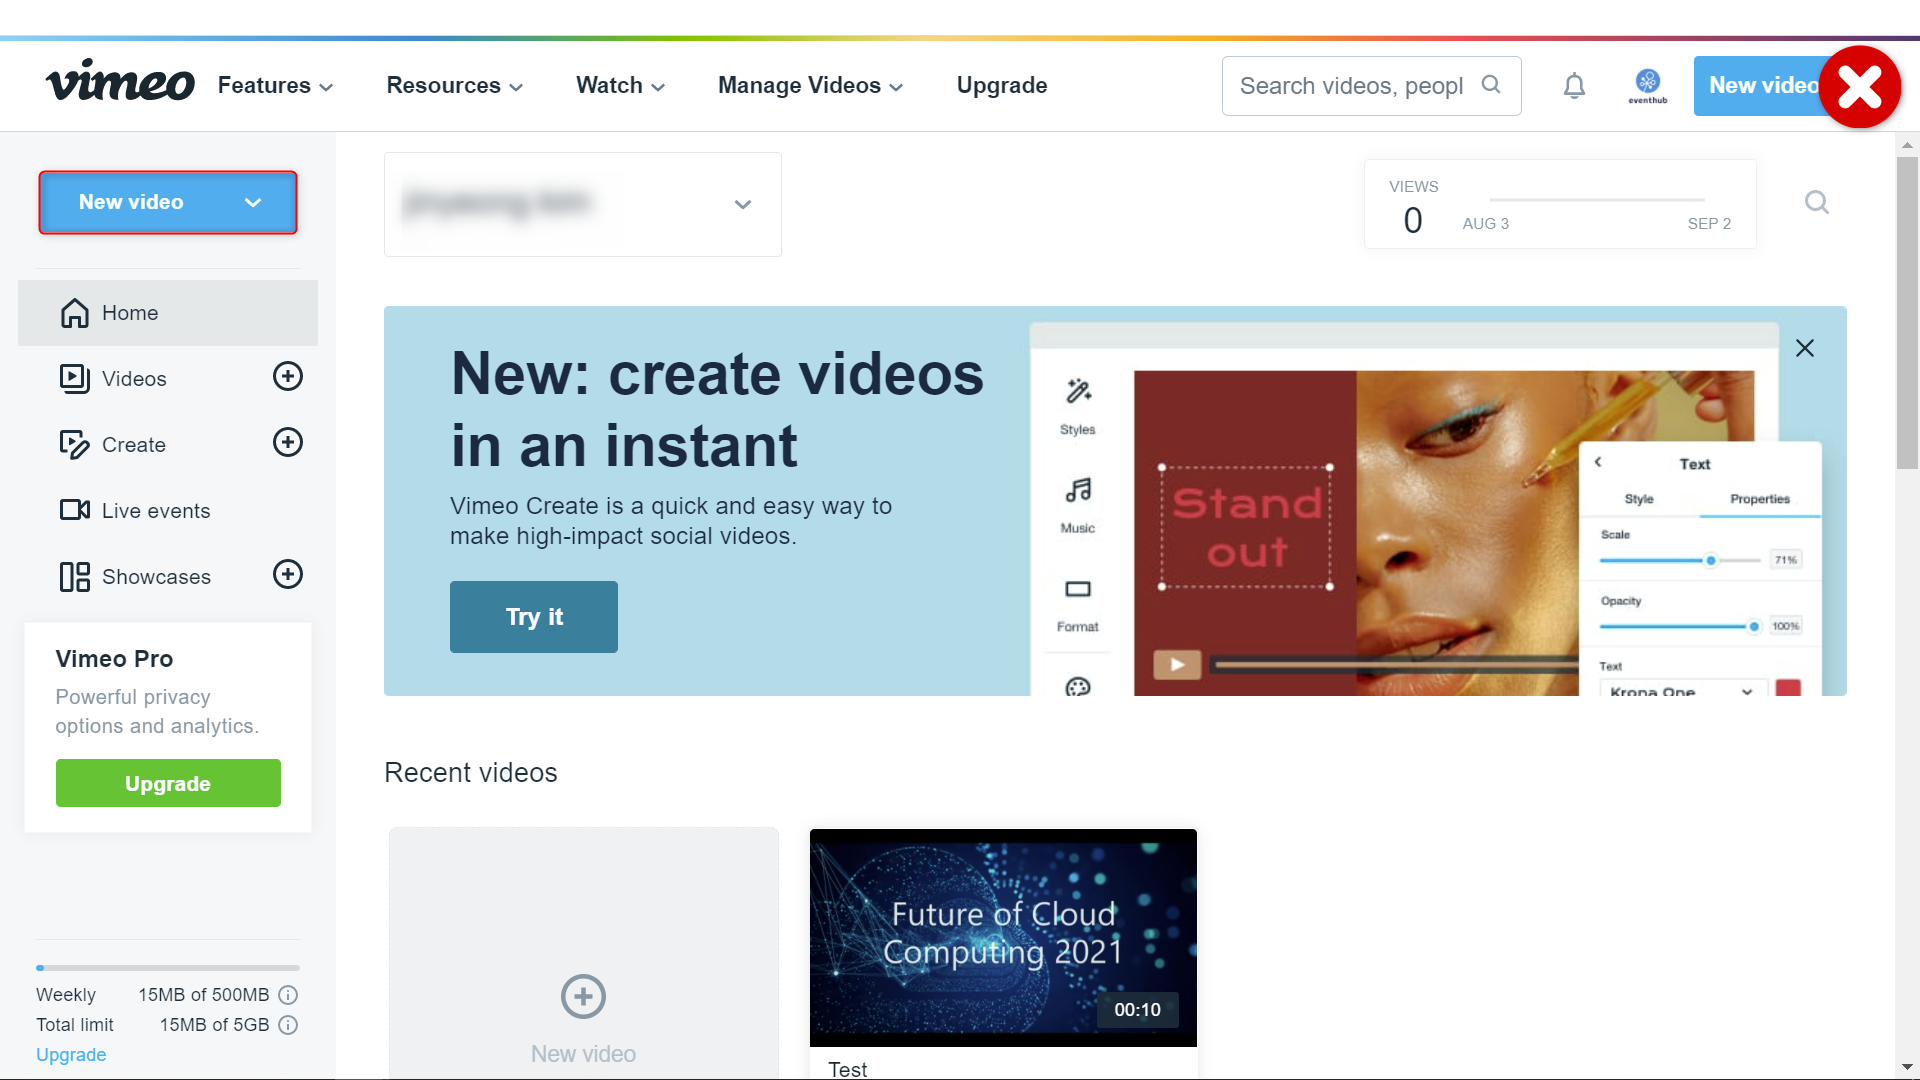
1. On Vimeo, go to 'New video' > 'Create live event'. This option is found under the 'New video' button on the top left of the screen (not the top right).
2. Enter the session/video name
- Under 'Scheduling', choose 'One Time'.
- Under 'Privacy settings', choose 'Hide from Vimeo'
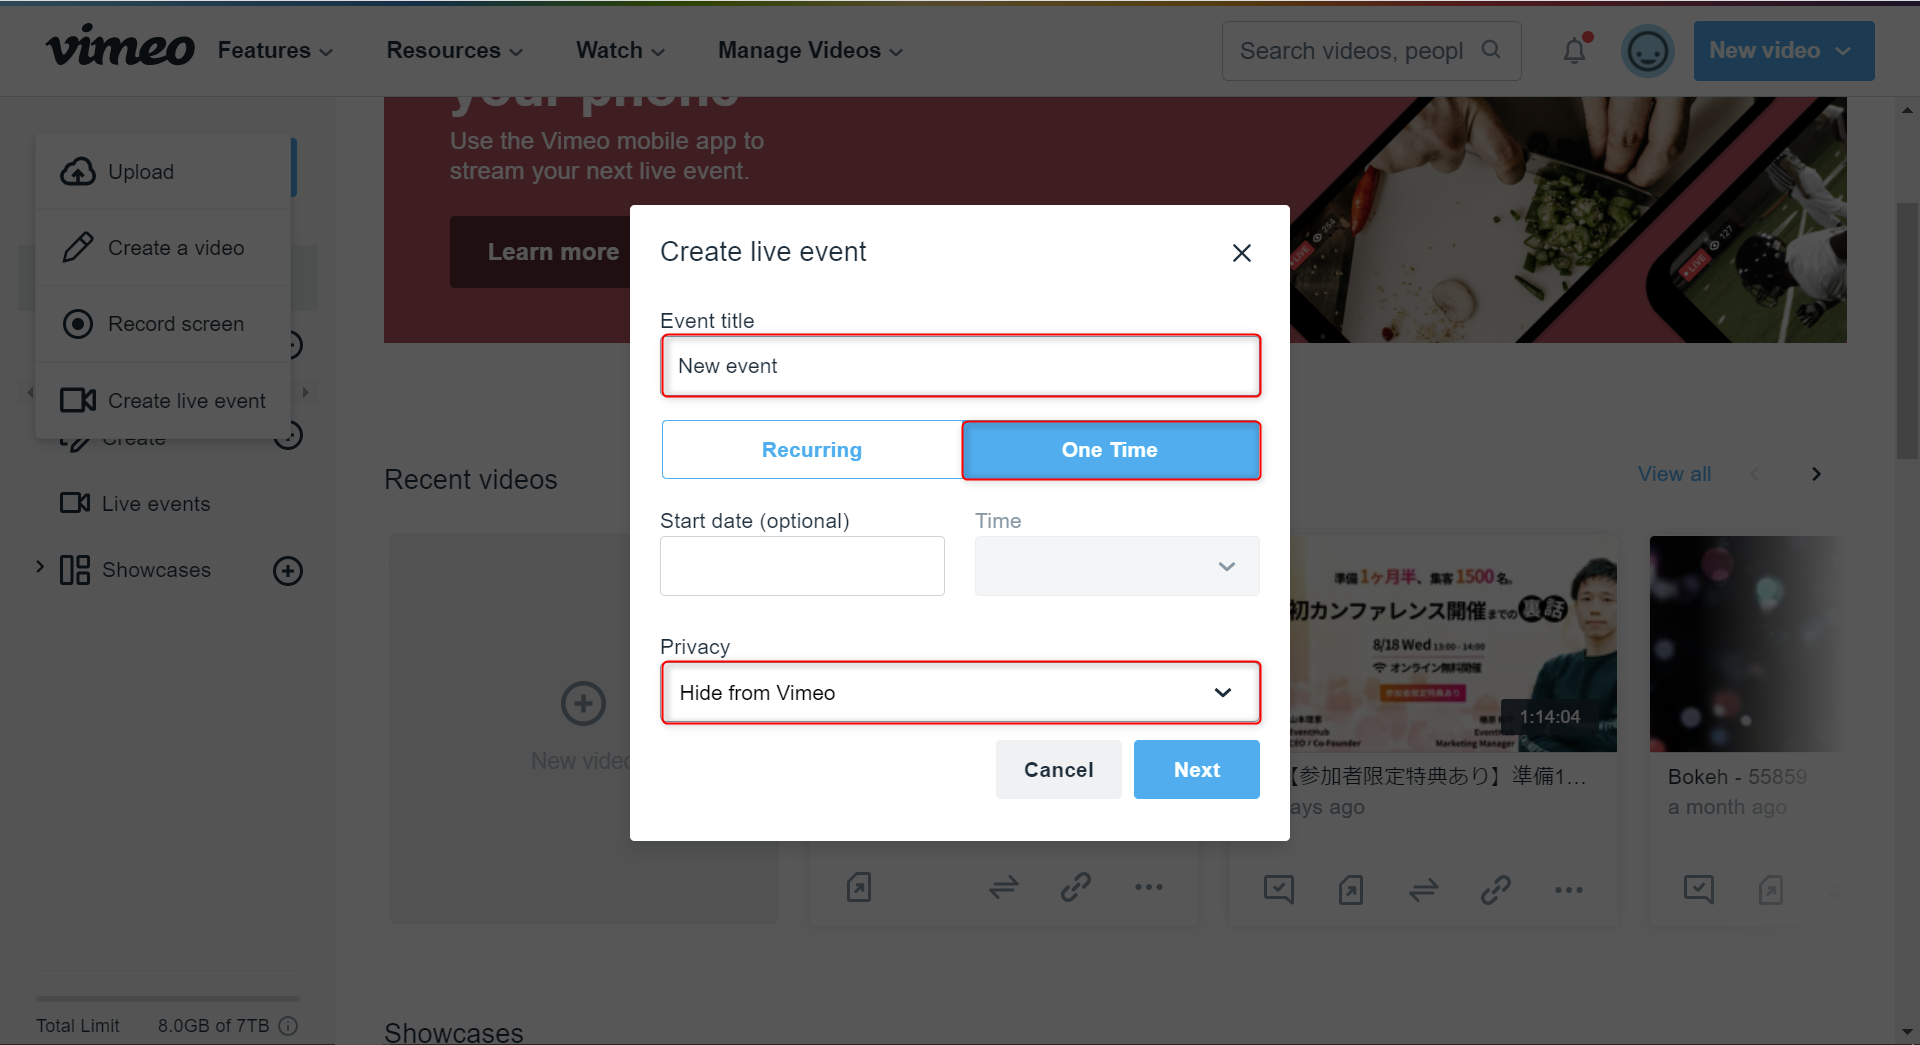
- We recommend setting your video as 'one time' to ensure your watch logs and viewership information is accurate. EventHub utilizes Vimeo's official library to collect viewership data during video playback. However, this does not work well for recurring videos on Vimeo. Essentially, even if the organizer stops the stream, the watch log will not recognize it as having been ended, leading to potentially inaccurate information.
- However, if you choose the 'one time' option, the video will automatically be archived. Please note that videos used for streaming tests will also be archived after they are stopped, so you will need to create the session or video again.
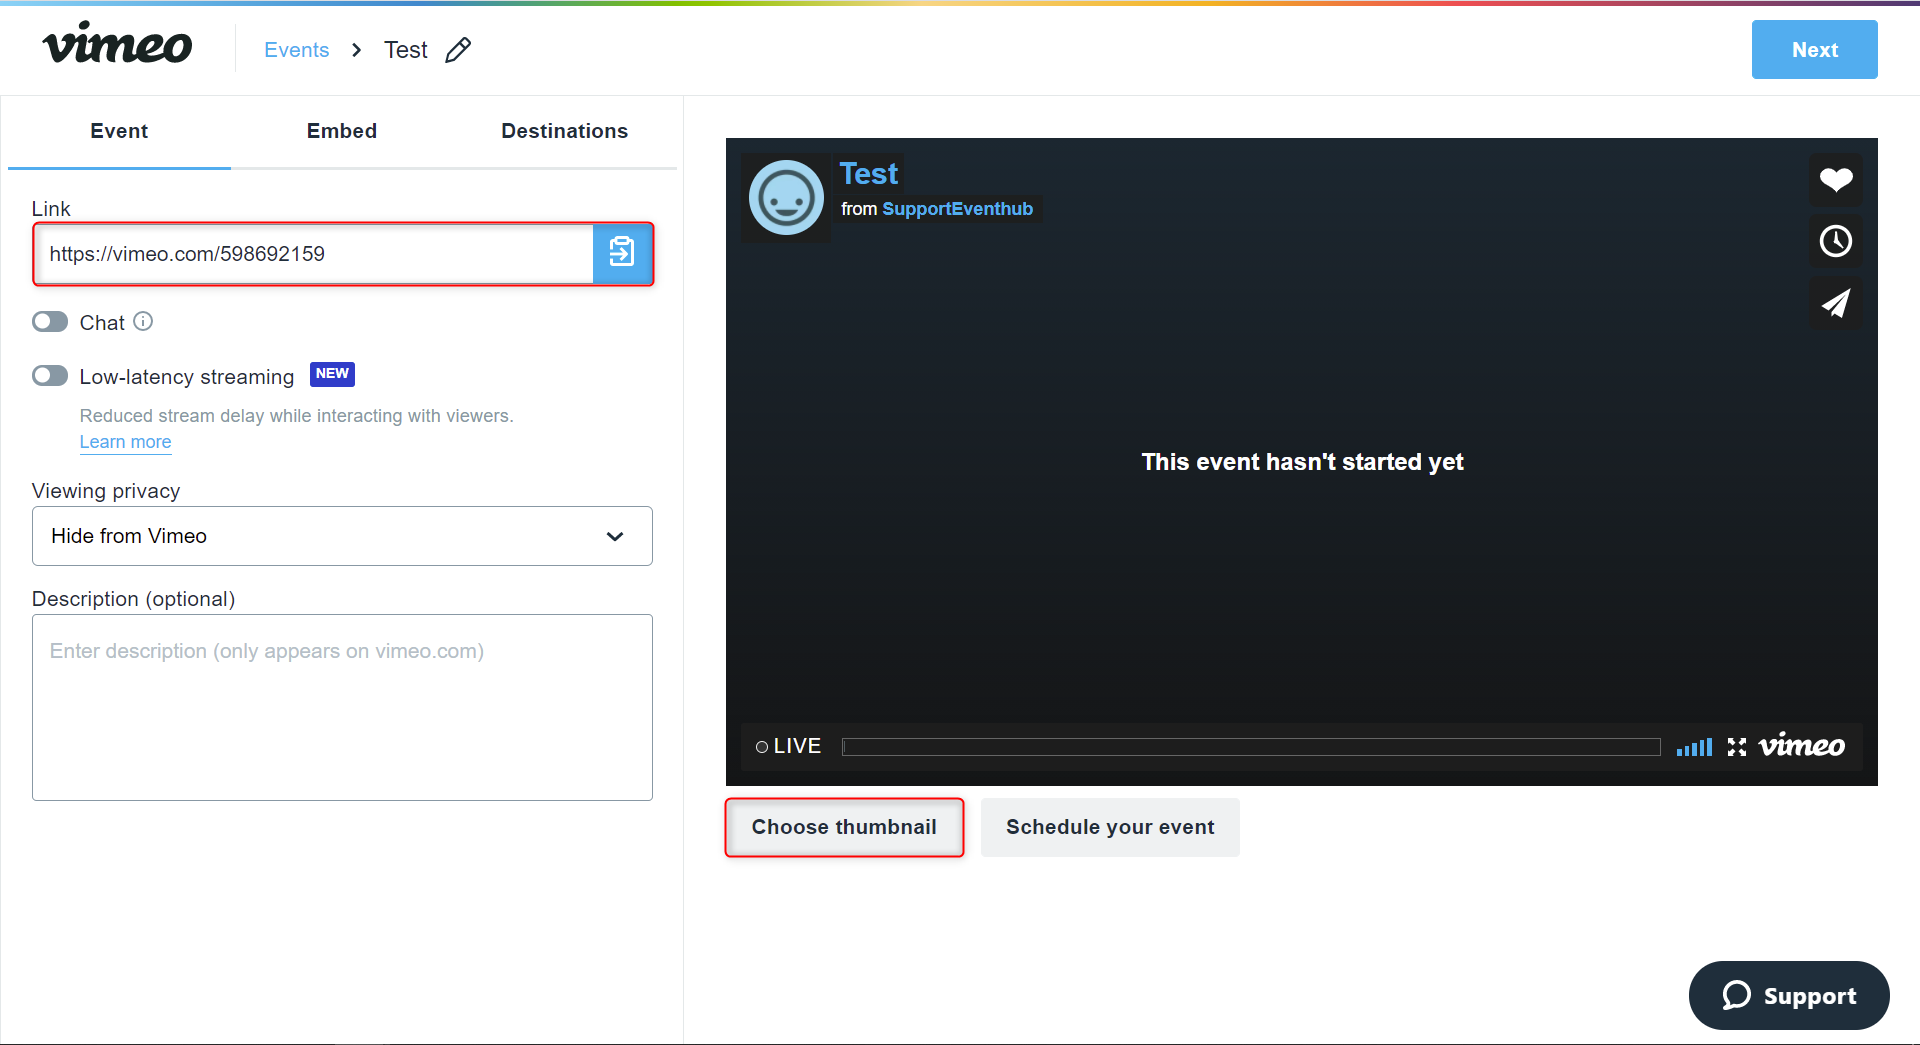
3. A video URL will be generated. You will need this link later to connect with EventHub, so please copy it. Choose an appropriate thumbnail image for your stream. Note that this image will be displayed on the event page before and after the stream, and will be used when the video is archived.
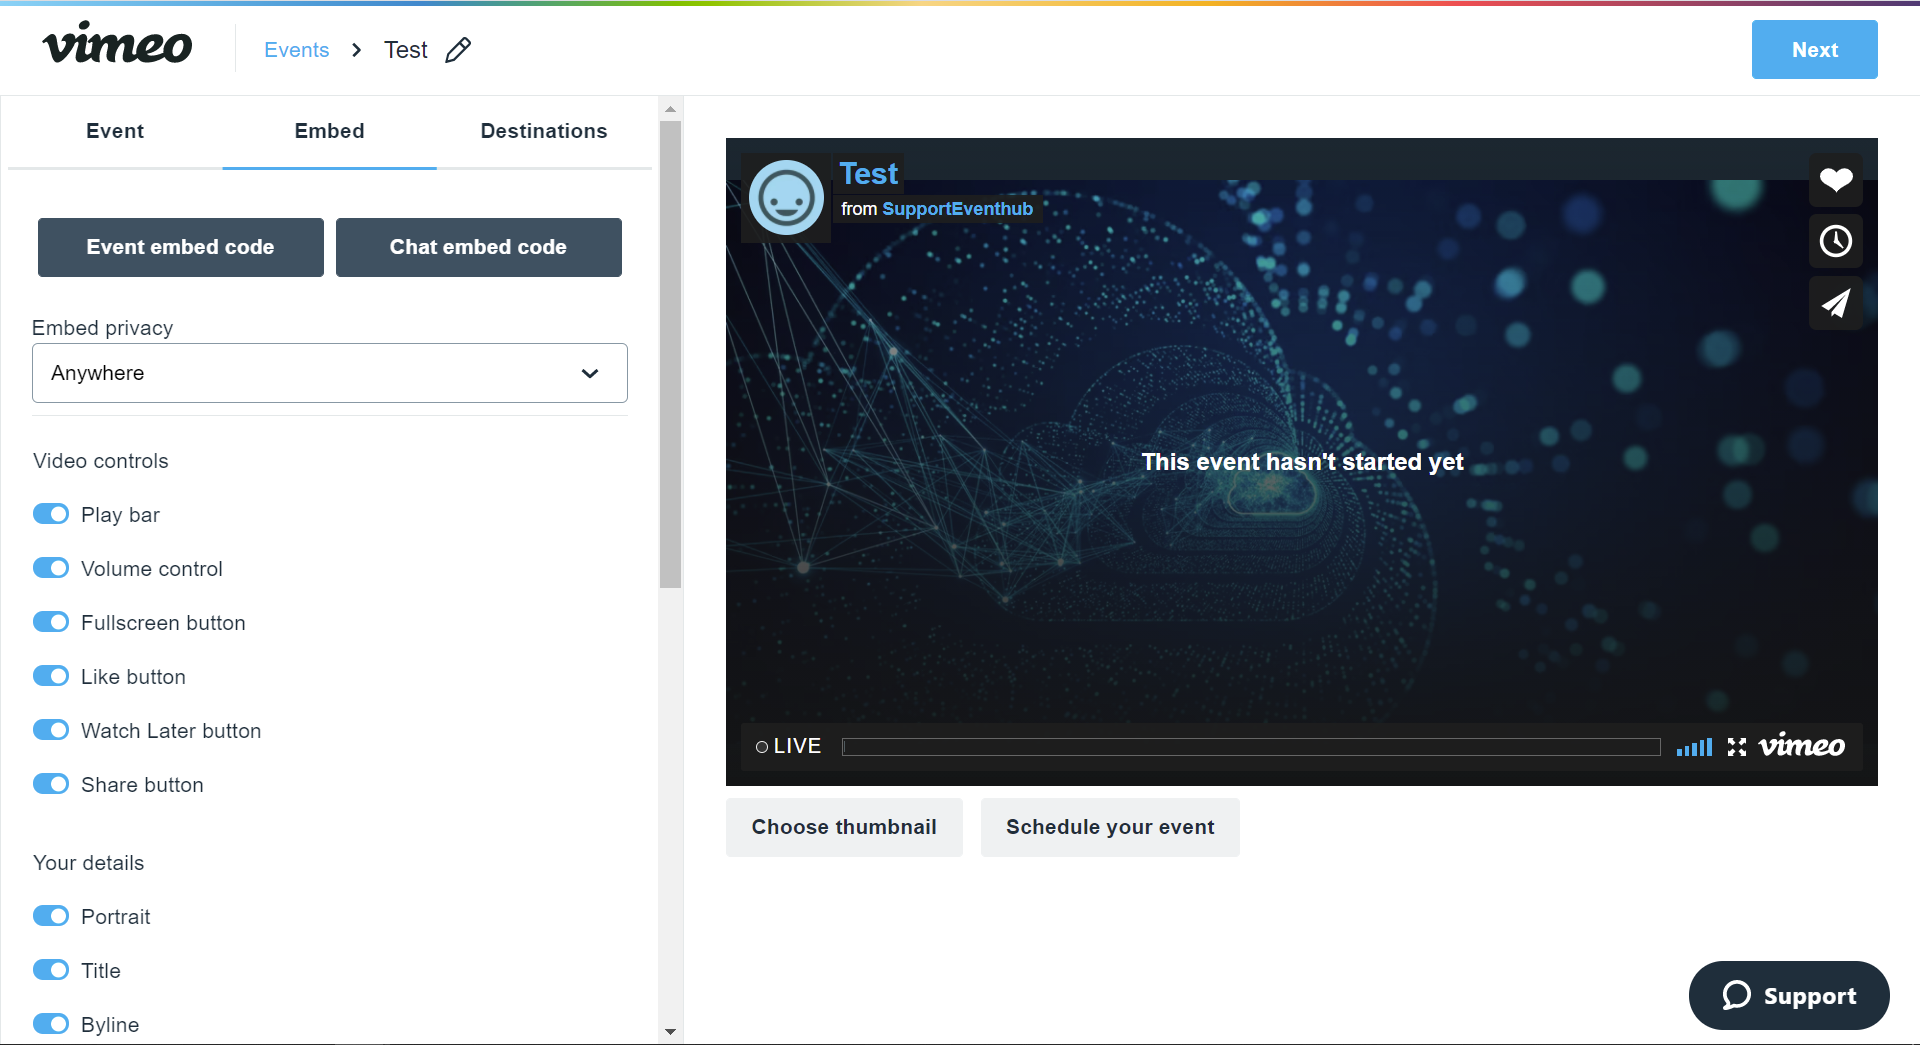
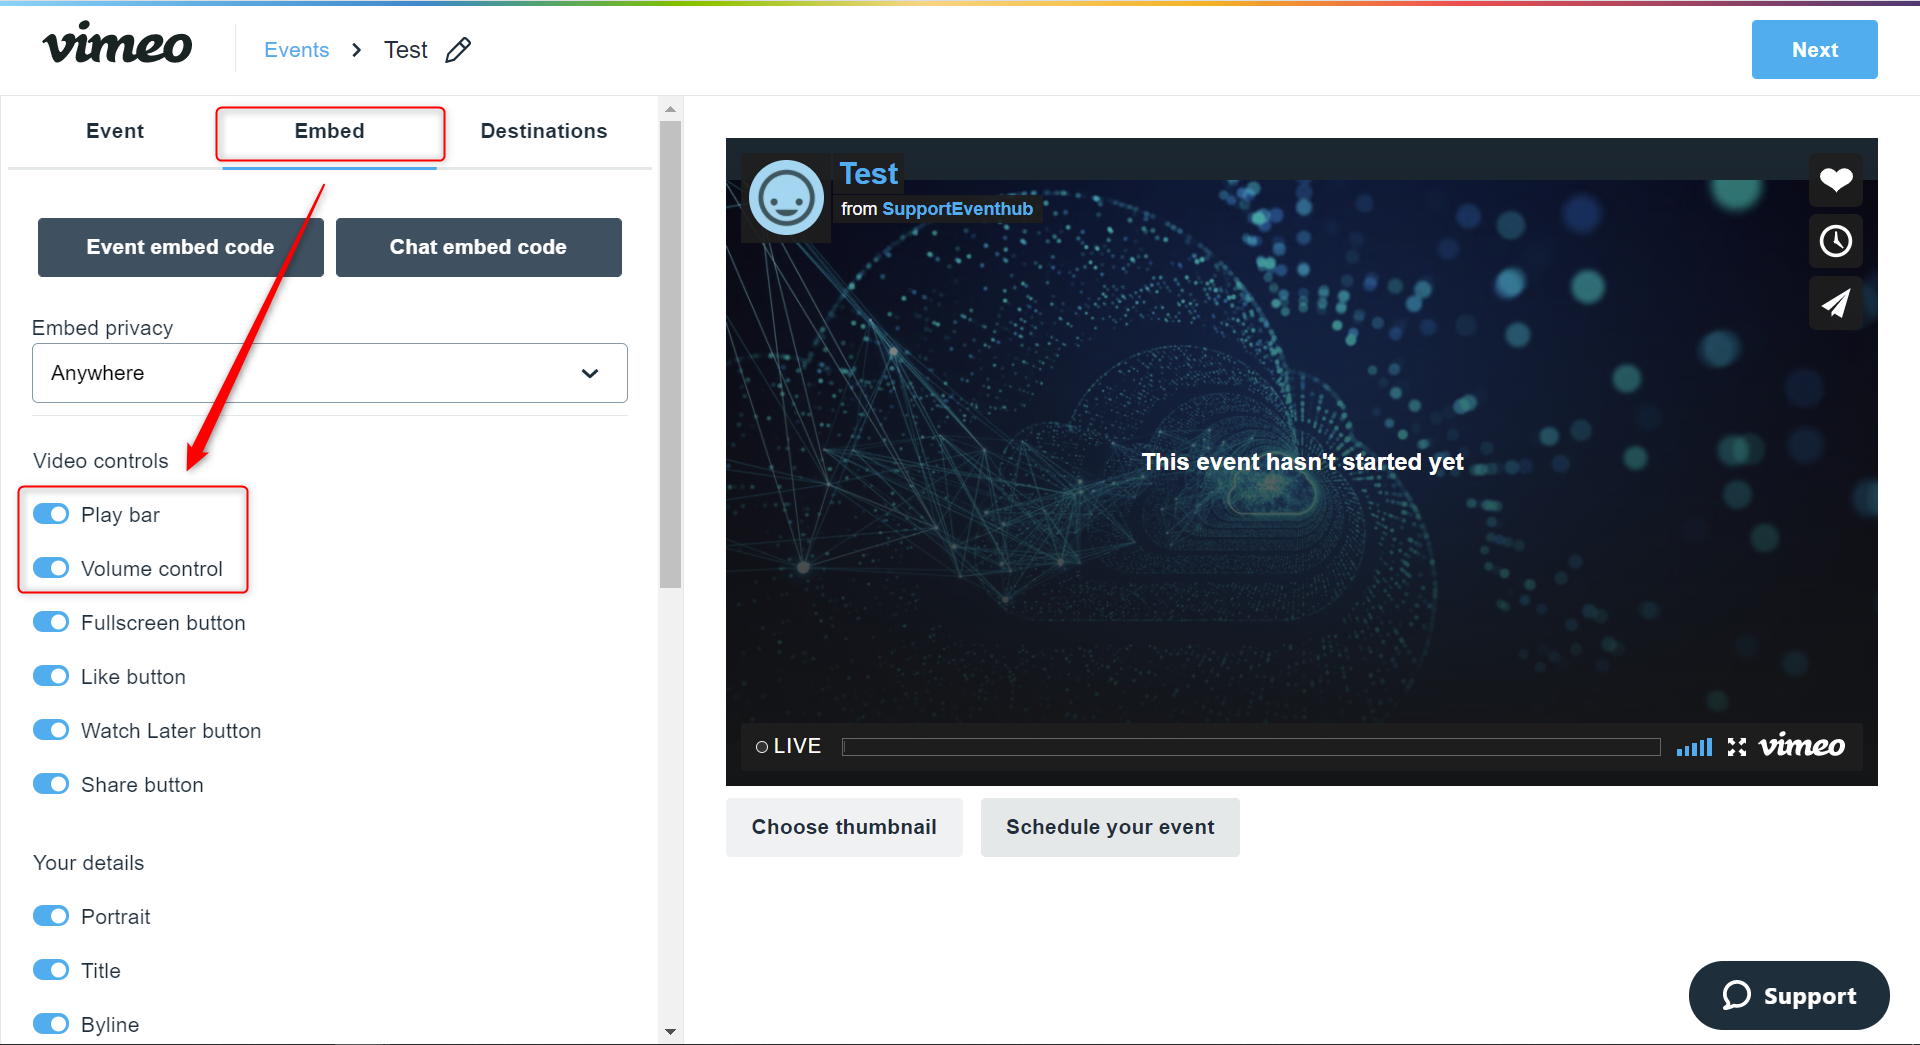
4. Go to 'Embed' > 'Video controls' and then make sure that the slider for Play bar and Volume control are switched to on. You can customize your stream by removing Vimeo's logo and entering an original logo, and also changing the color scheme to match the theme of your event.
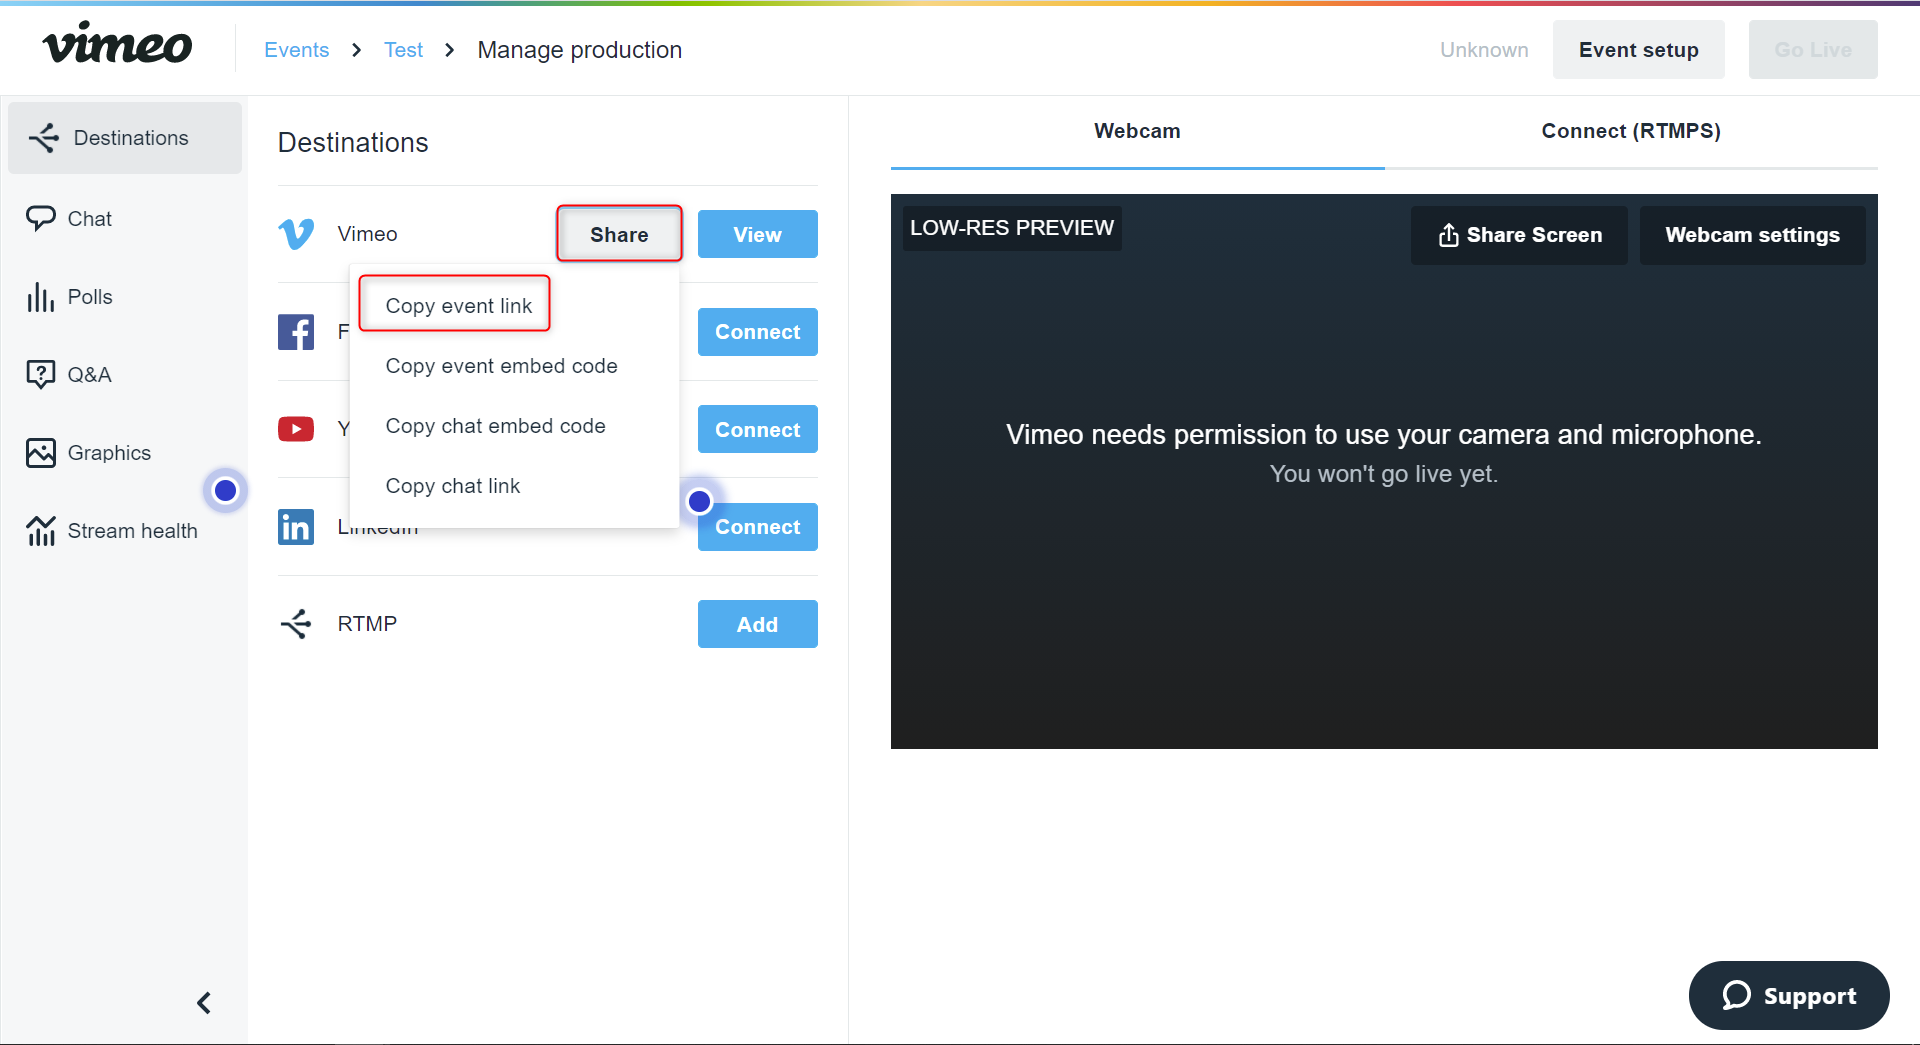
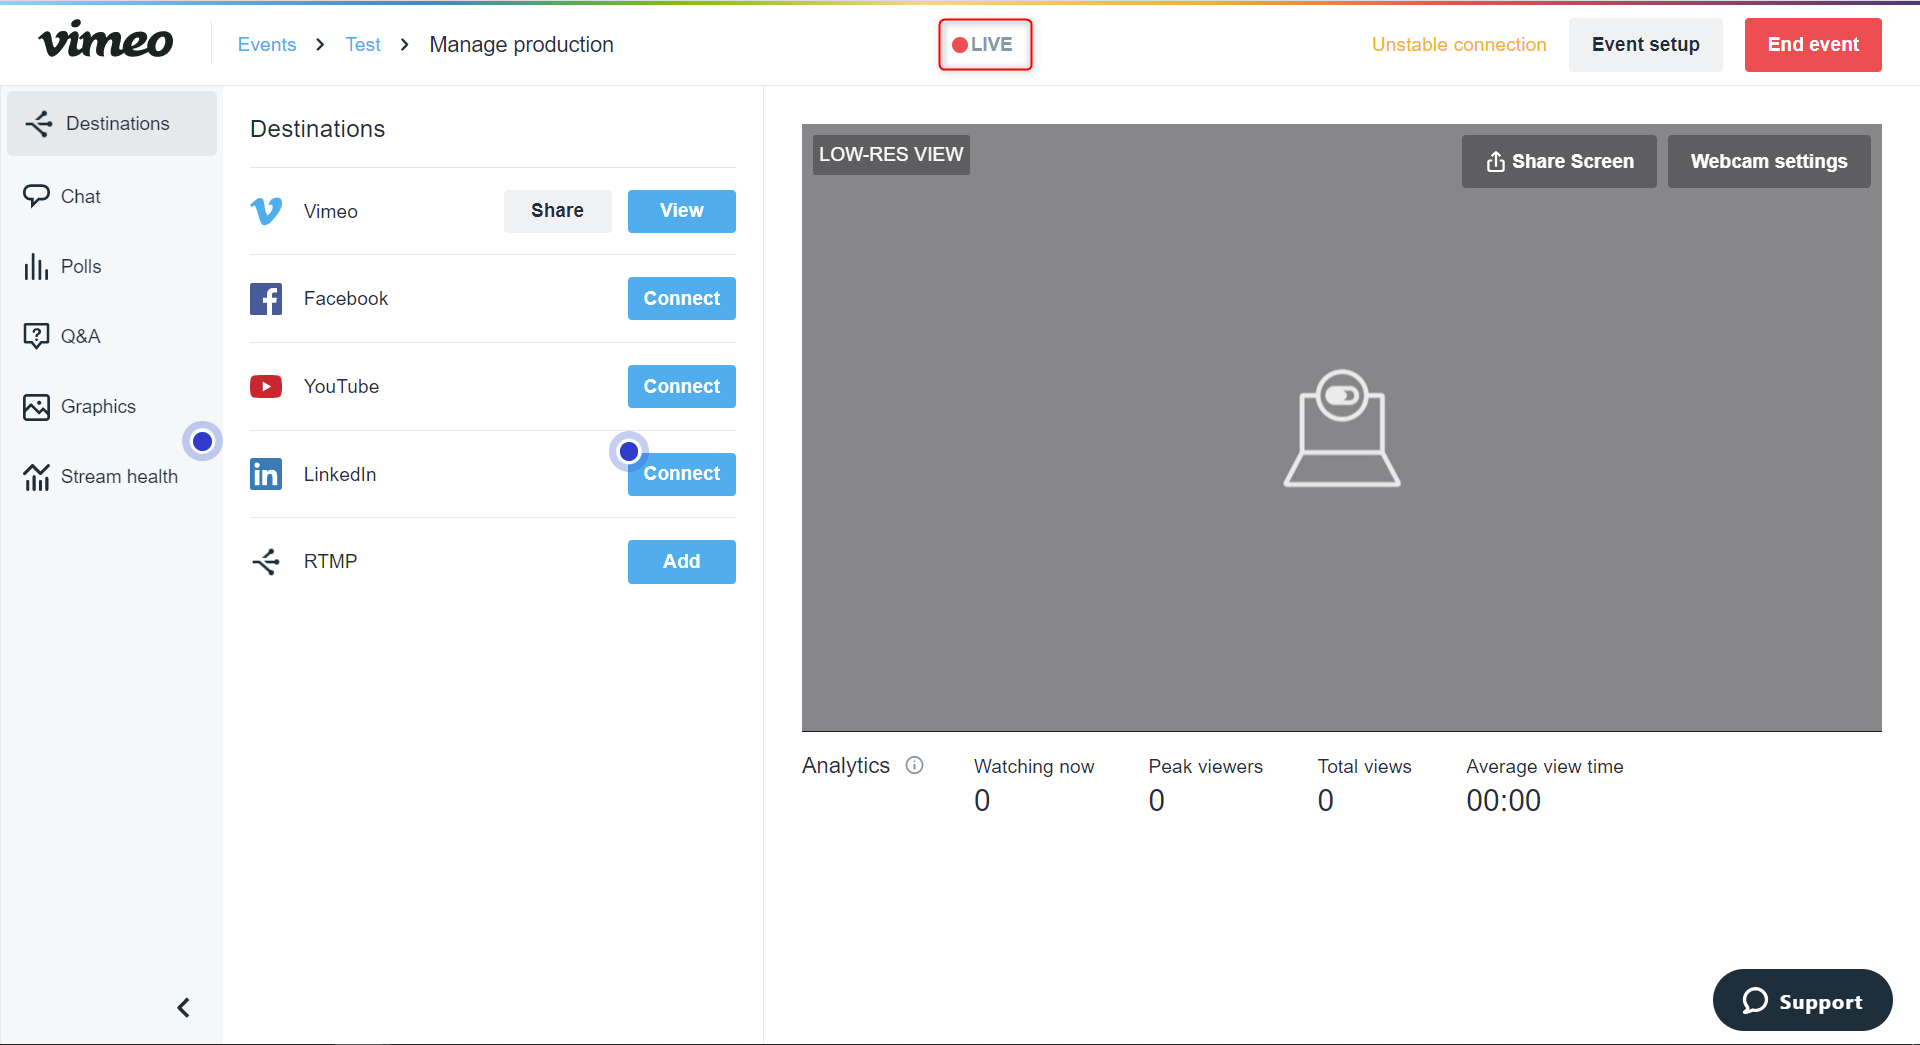
5. Click Next and go to the streaming screen.
From Share, you will be able to copy the event link. You will need this for the next step, so please copy the URL now.

2. Connecting with EventHub
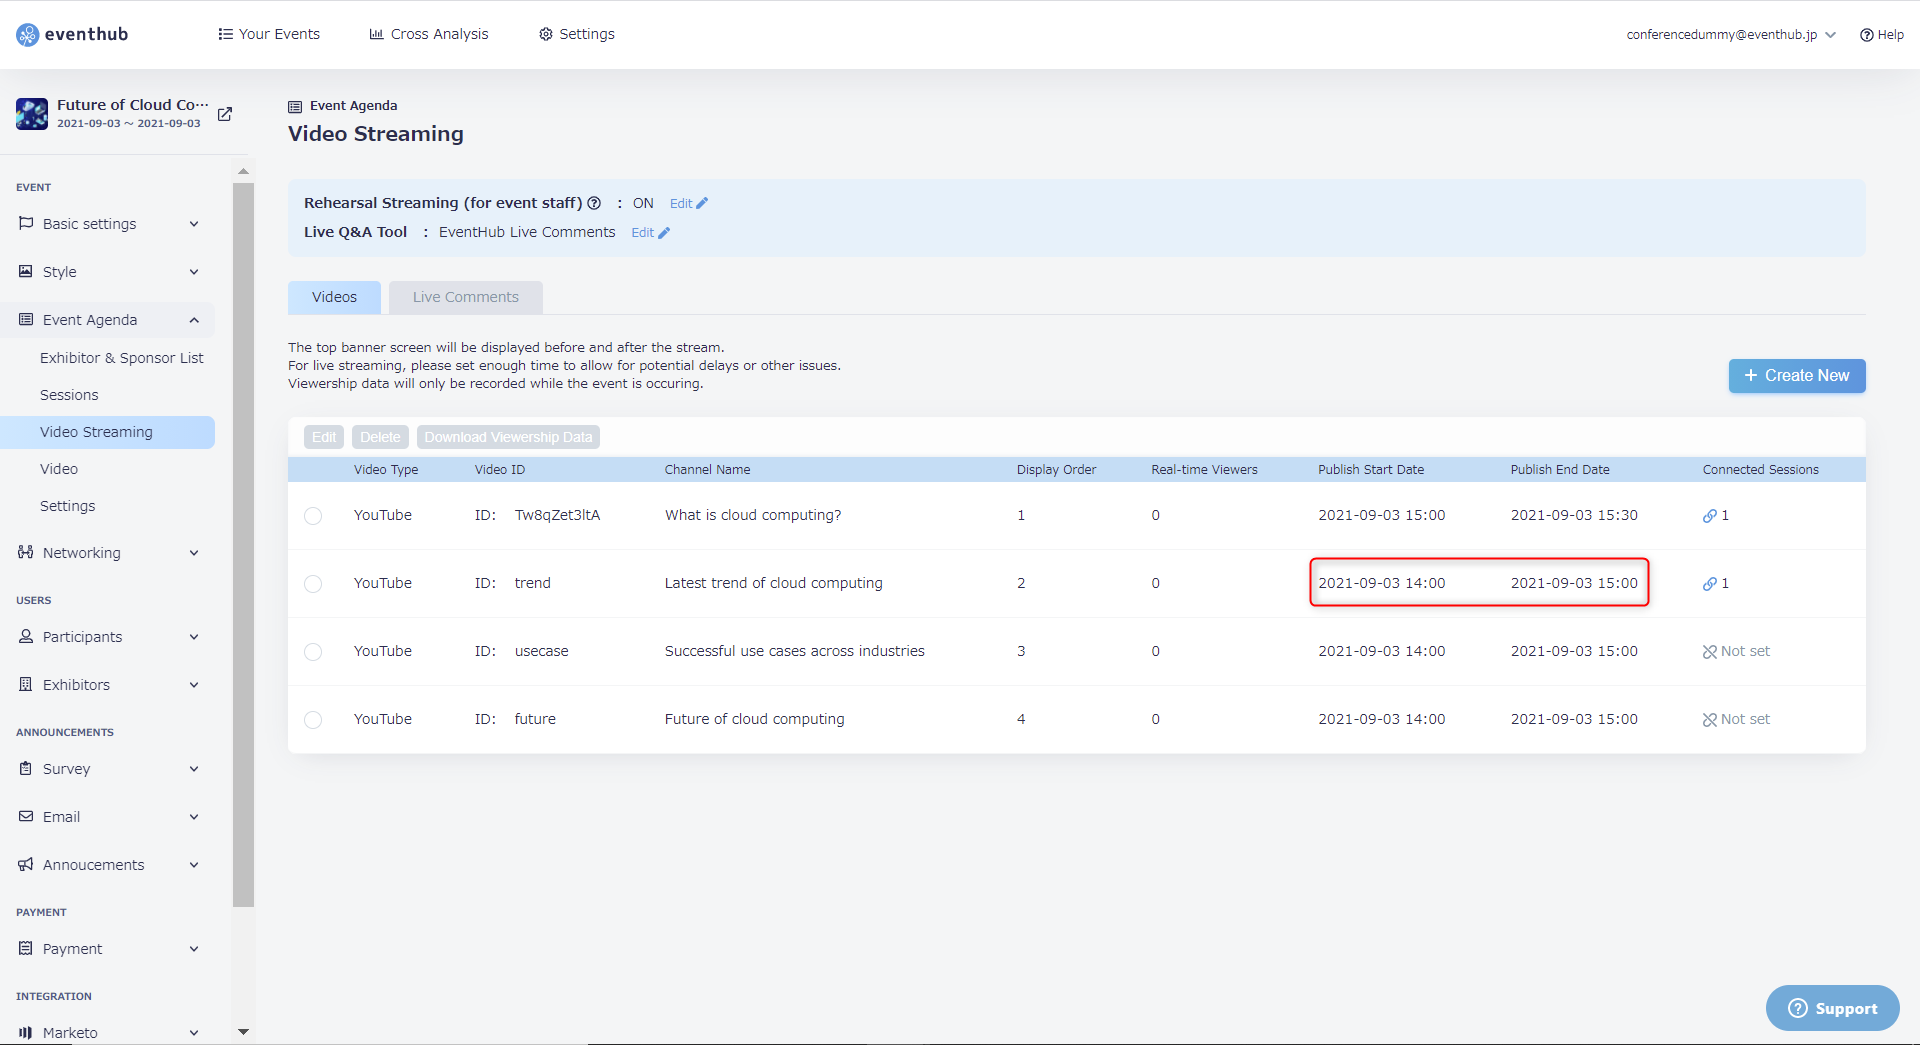
1. Under 'Event Agenda' > 'Video Streaming', click on 'Create New'.

Choose your 'Video Type'. and enter the Vimeo URL you copied earlier. After entering all of the required information, click 'OK' to save your settings.
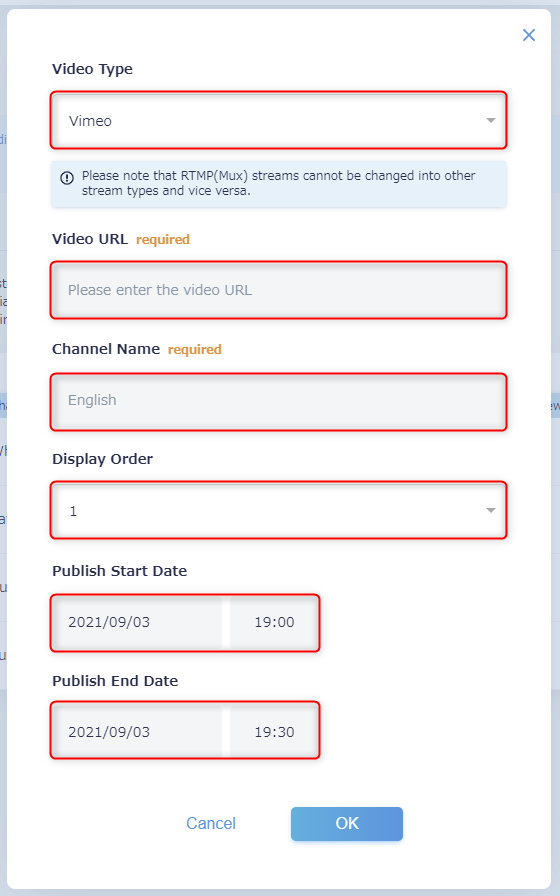
- Video Type: please choose "Vimeo".
- Video URL: Enter the video link
- Channel Name: Participants will be able to switch through channels on the main event page.
- Display Order: The order in it will be displayed on the channel list
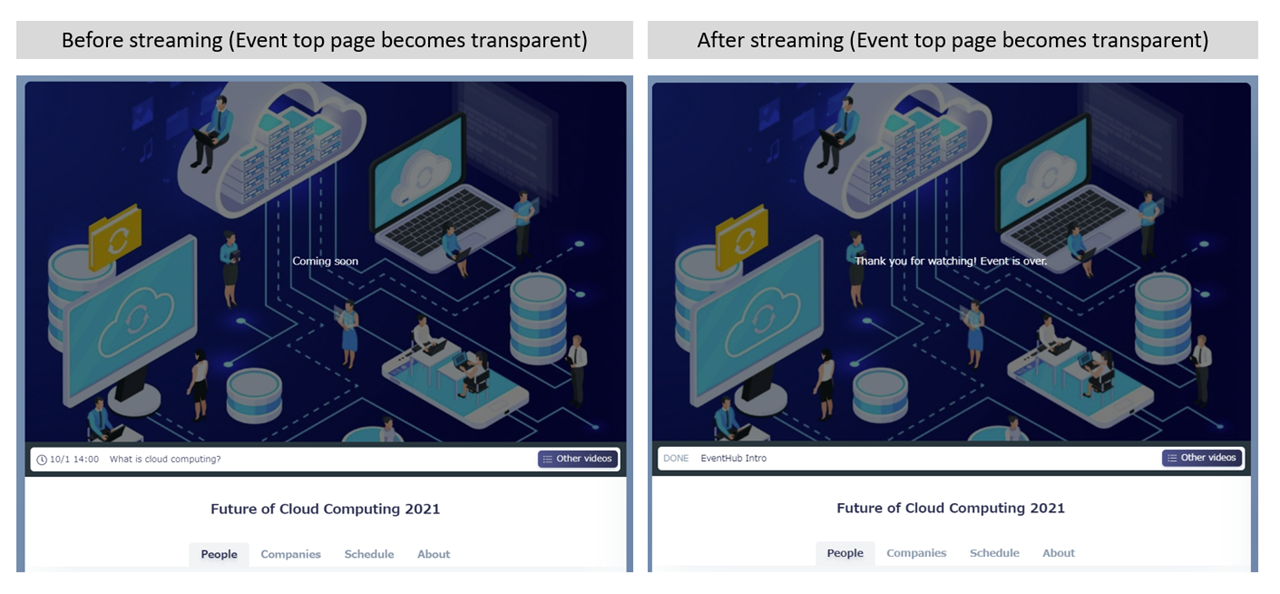
- Publish Start Date: Choose when the video will become visible on the event page (before the start date, "Coming Soon" will be shown in place of the video).
- Publish End Date: Choose when the video will no longer be visible on the event page (after streaming has ended, participants will see a message stating "Thank you for watching").
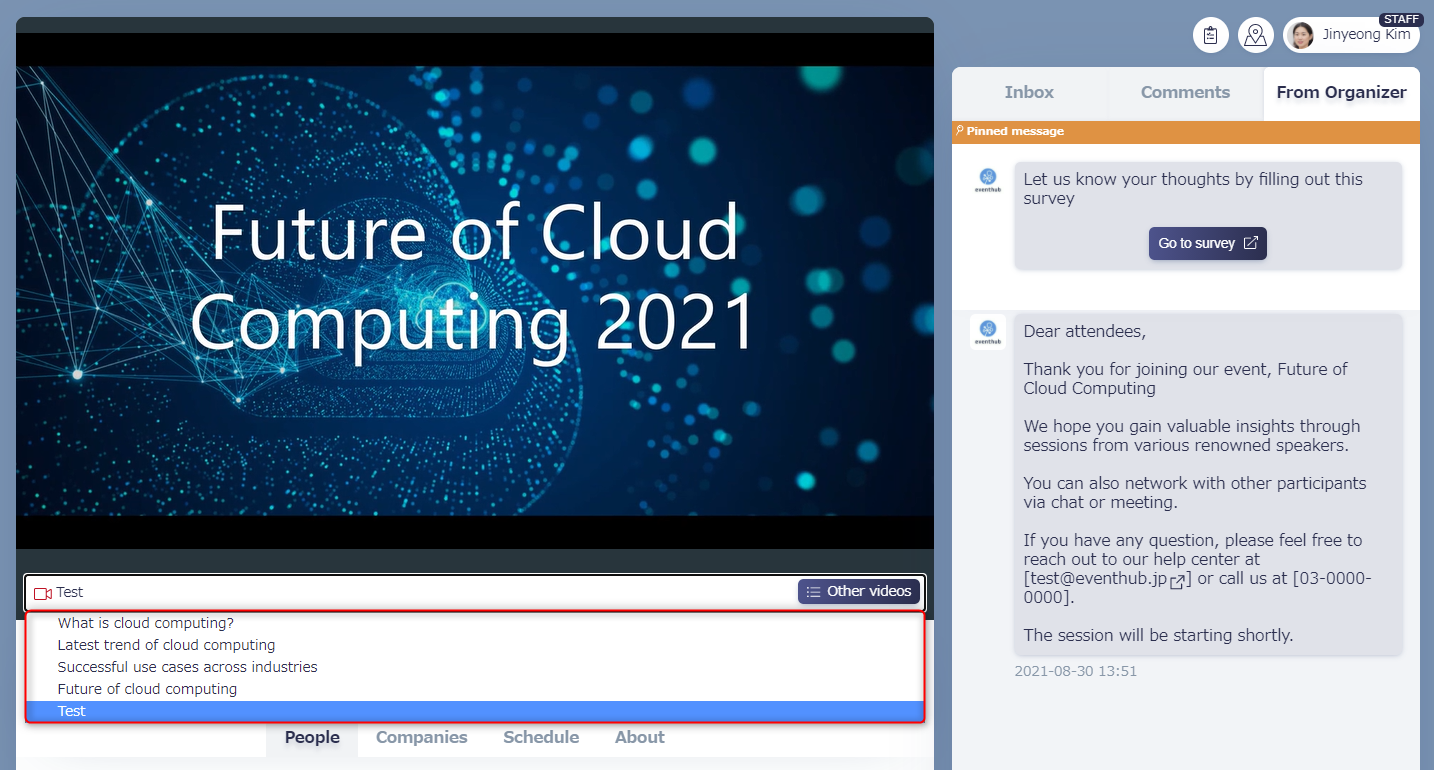
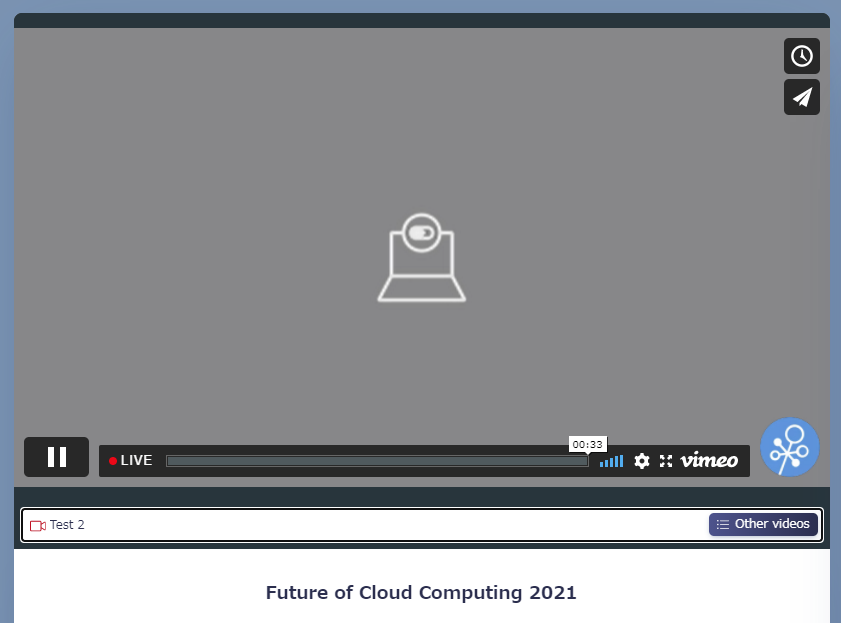
You can check that your video has been added successfully by clicking on 'Other videos' on the event page and checking for the video you have set from the pulldown menu.
▼ Clicking on 'Other Videos' will show the list and titles of other sesions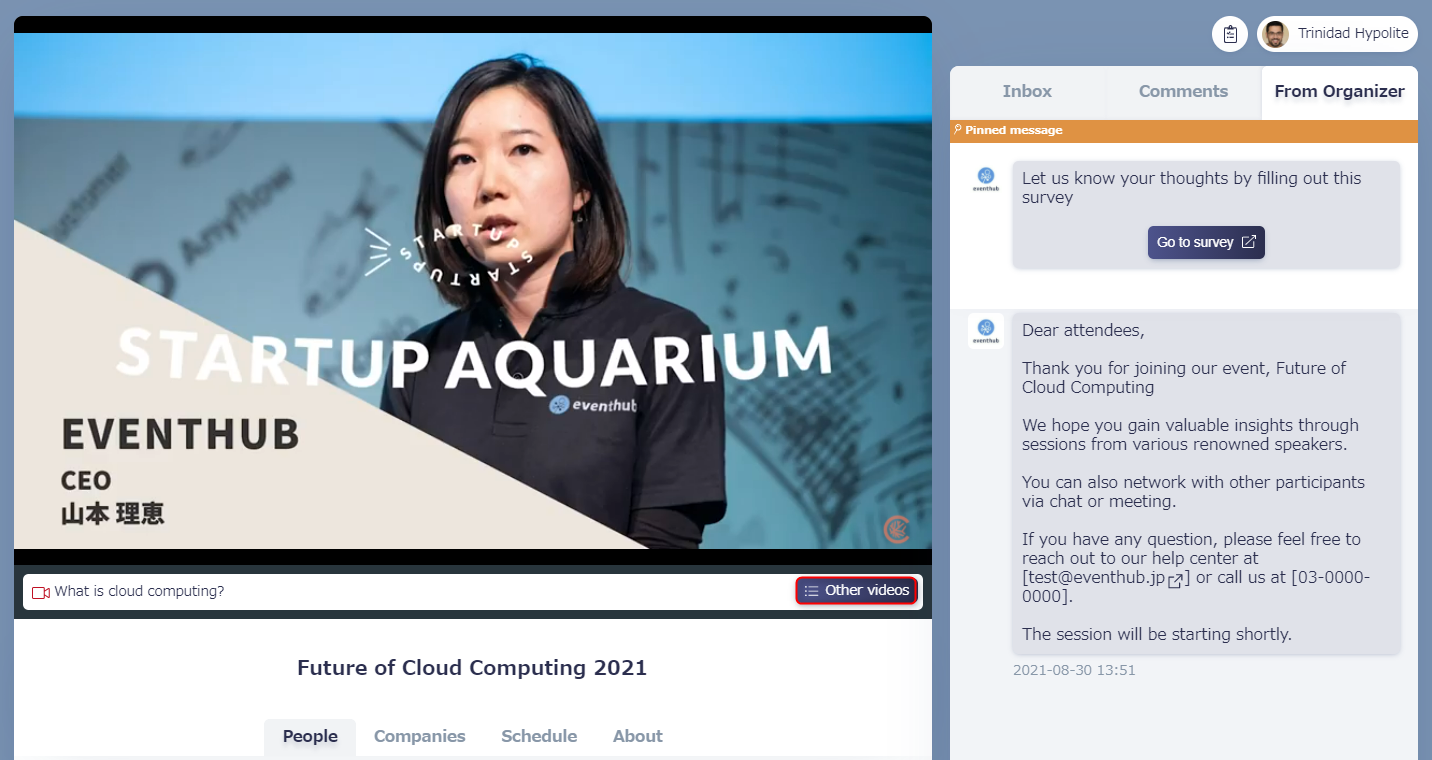
You can check that your video has been added successfully by clicking on 'Other videos' on the event page and checking for the video you have set from the pulldown menu.
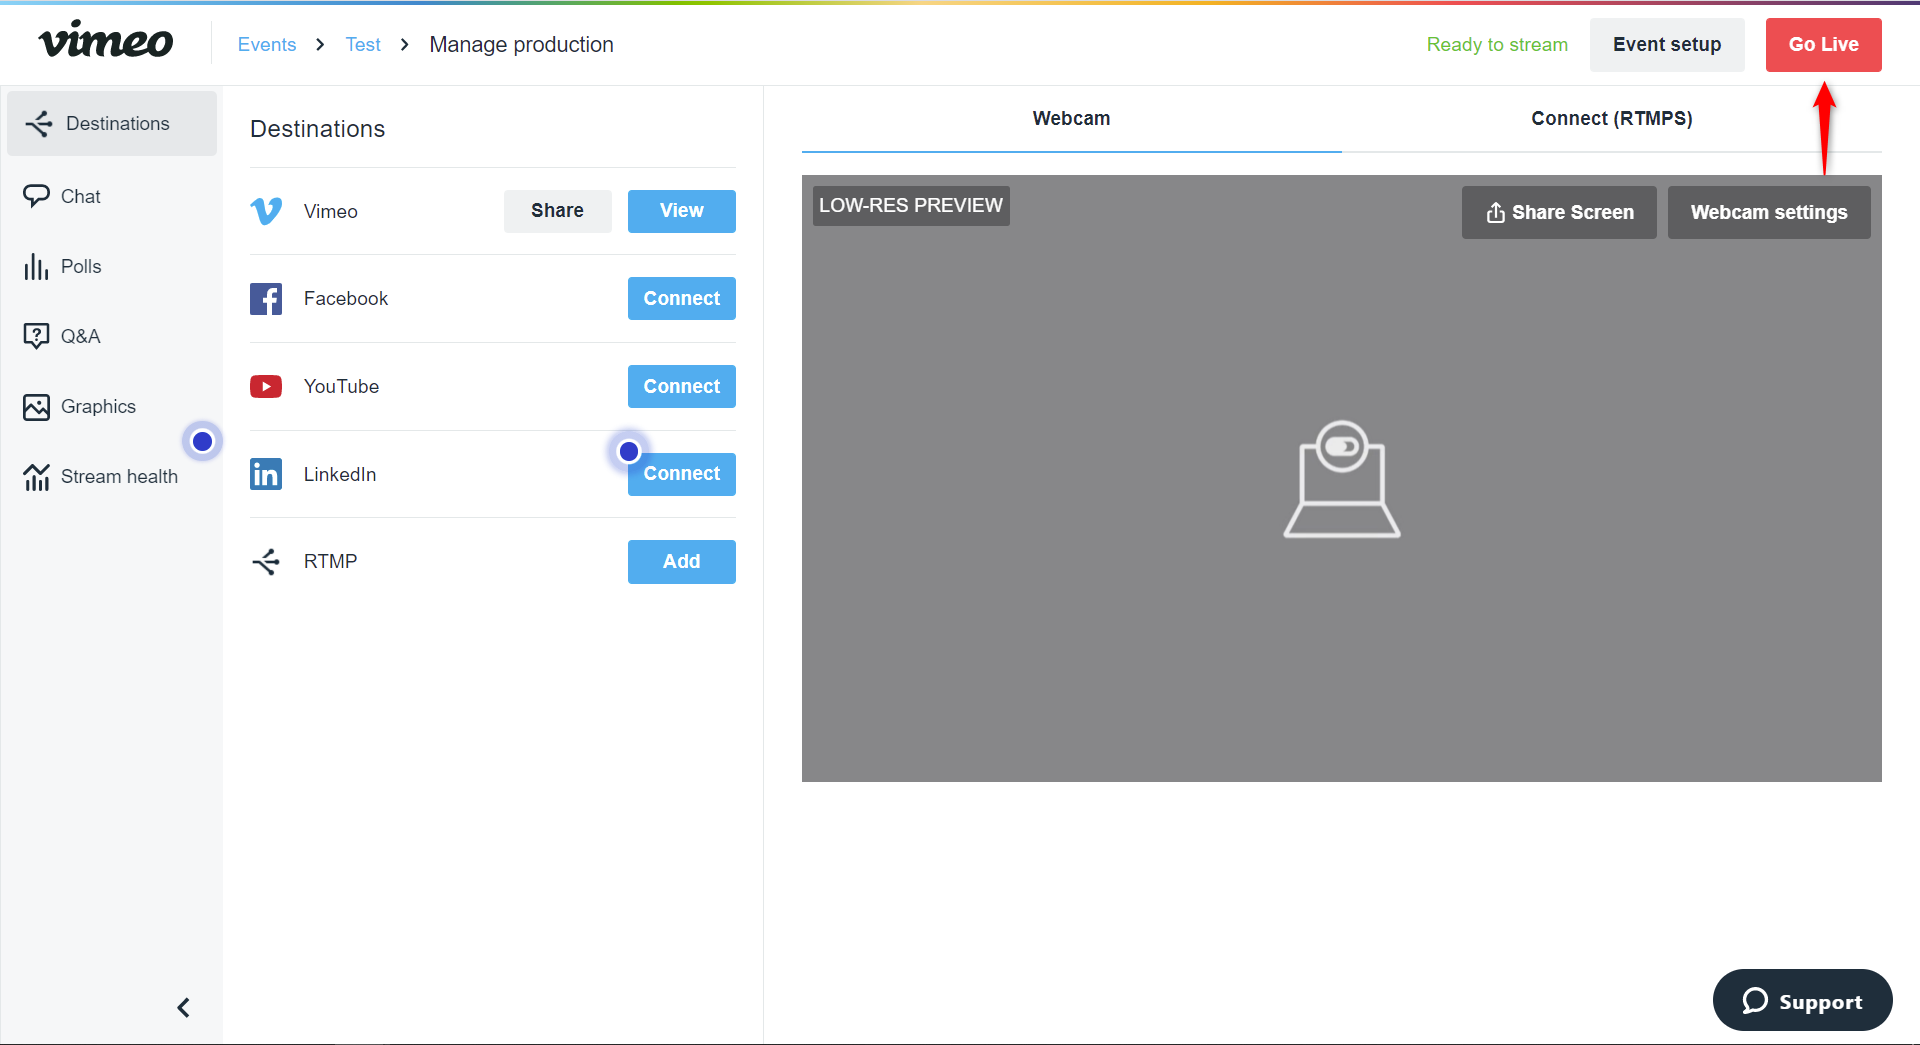
3. Starting your live stream
Return to the Vimeo streaming screen and click Go live. Your stream will begin.
On EventHub, your video will only be streamed on the event page during the window of time you have set.

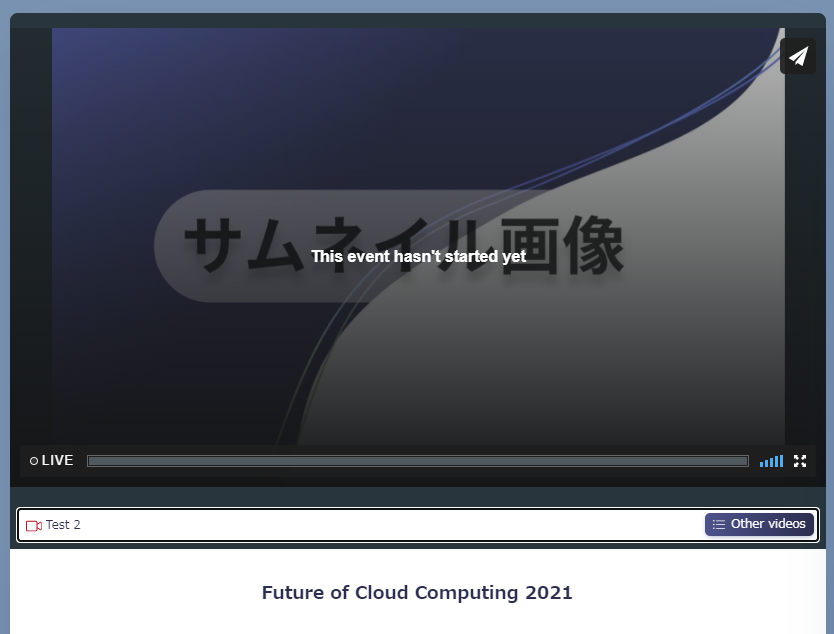
If streaming begins after the set publish start date and time, the video thumbnail will be displayed and participants will see a message stating that the session will start soon.
If live streaming ends before the set publish end date and time, the thumbnail will be displayed, and viewers will be able to rewatch the video again from the beginning.

- Our recommended video aspect ratio for both Youtube and Vimeo is wide (16:9).
- Streaming will end at the exact time you set the Publish end date, so we recommend leaving some extra time at the end to be safe.